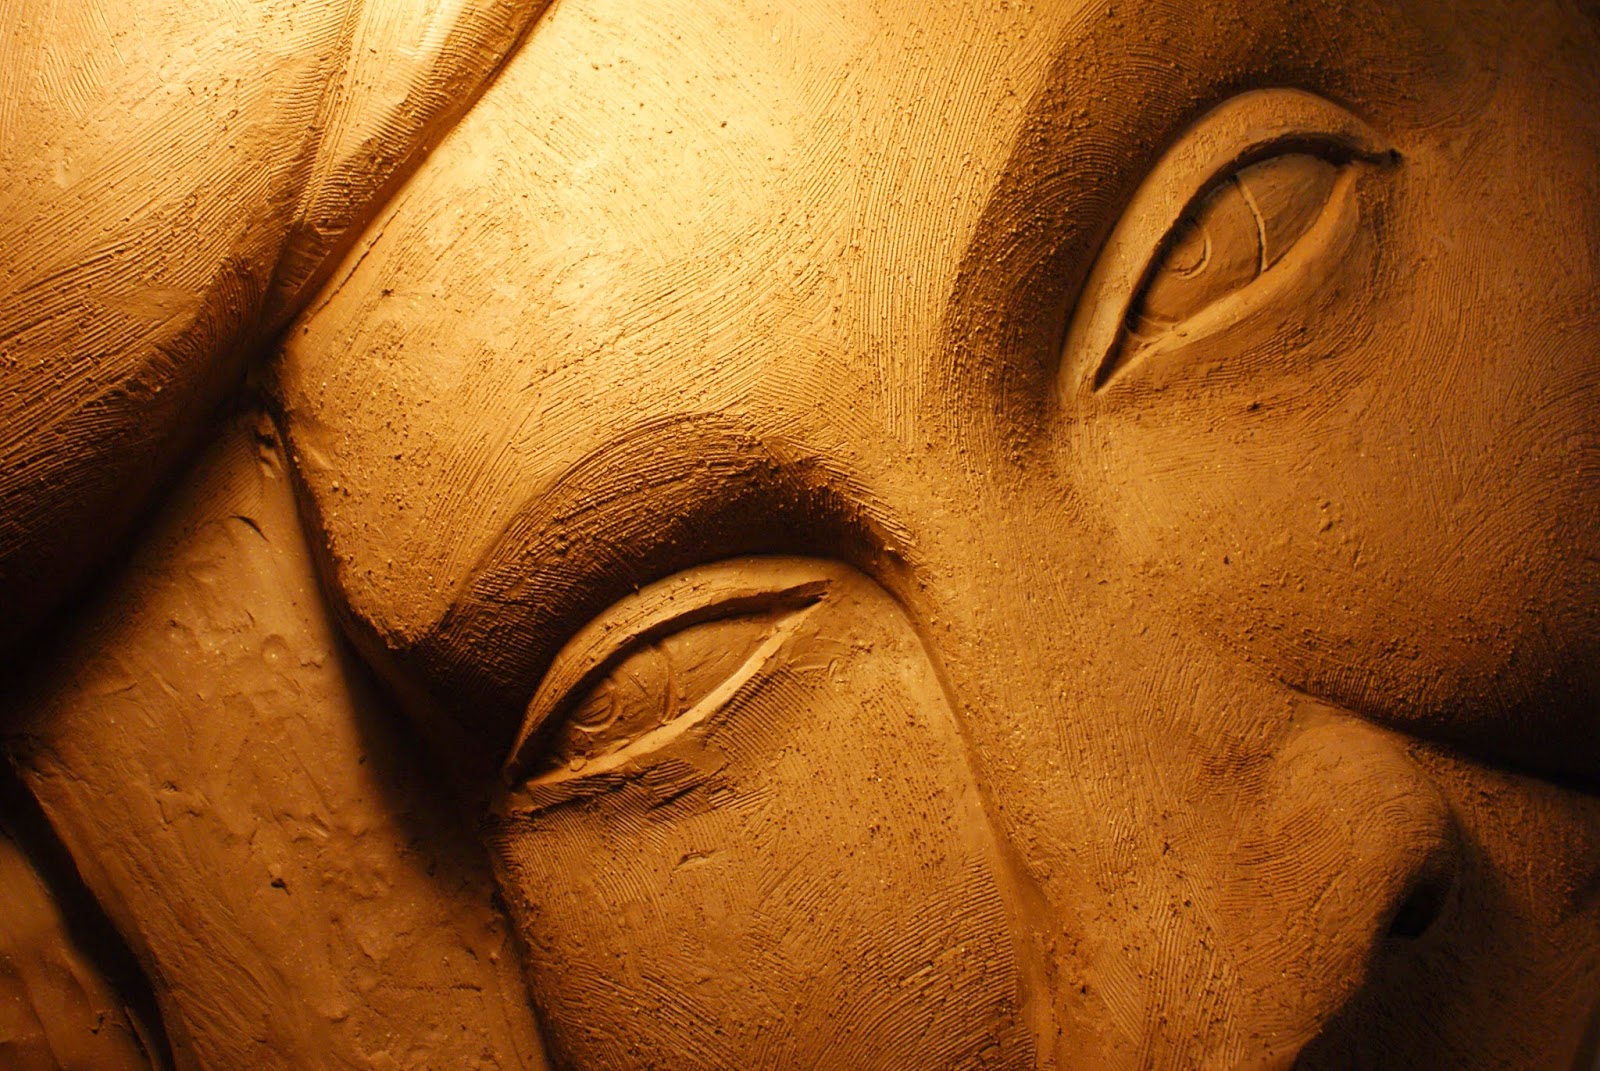
The "Daydreamer" mural was a collaboration with muralist / painter, Ian Wilkinson (we previously worked together on the Hall Fletcher Elementary School Mural). This project was commissioned by the City of Asheville for the 51 Biltmore parking garage (beneath the Aloft hotel in downtown Asheville). Admittedly, the photos below are only part of the story. They chronicle my contribution to this project. Ian and I worked together a lot but we also often worked on our respective parts of this project separately. Below is my half of the story.
Photo by Lawrence Irvine
Photo by Lawrence Irvine
Photo by David Kabler.
The finished mural.
Breaking down the scaffolding.
(photo by Robby Wilkinson)
(photo by Robby Wilkinson)
Insulation blankets were used to protect the grout from freezing temperature.
Grouting.
I like this shot because it shows several things: the face, the remaining fasteners, the structural reinforcement for the wall, and the mapping for the footprint of the tiles.
Different view of the above pic.
Tiles were dry-mounted on fasteners in batches of about a dozen, then removed (when this photo was taken showing the exposed fasteners). Epoxy mortar was applied to both the back of tiles and the wall.
The view from the scaffolding.
The install was the opposite schedule from working in the stifling hot studio. Instead of working through the wee hours of the night, I would get up about 6 am and make breakfast and lunch for Ian and myself (a small thank you for letting me stay at his place for free) and we'd get to work about sunrise and often work till sunset.
The install was the opposite schedule from working in the stifling hot studio. Instead of working through the wee hours of the night, I would get up about 6 am and make breakfast and lunch for Ian and myself (a small thank you for letting me stay at his place for free) and we'd get to work about sunrise and often work till sunset.
We had to move the block and tackle to get this piece of the head in place. It weighed about 55 pounds and rested on 3 anchors. Definitely the hardest tile to place.
Me (left) and Ian (right) about to hoist up the face of the sculpture.
(photo by Ginger Huebner)
The engineer required us to apply pressure on the face of the tiles while the epoxy set. We did that with ratchet straps.
Two different kinds of epoxy were used. The epoxy mortar, which took the place of tradition cement mortar, and an anchoring epoxy, pictured here being injected into a 15 inch thick wall. A stainless steel treaded rod will momentarily be inserted into the epoxy before it sets.
The window sill installed.
Every tile (about 90 in total) was brought up the scaffolding one at a time on a block and tackle. (thanks to Ken Kerns, rest in peace, for loaning us the block and tackle and Zen Sutherland for the photo)
Beginning to put the puzzle together. The hand went on first.
Ian striking a pose in front of the structural reinforcement.
Each piece of threaded rod poking out here goes through 15 inches of wall and has a large washer and nut on the inside of the parking garage wall.
There are actually two walls. The sculpture is attached to a veneer wall floating in front of an 8 inch CMU (cinder block) wall. The courses though are off set. Through some calculated drilling we were able to determine the location of the inner wall in relation to the veneer wall and this is mapped out here in the photo. It was critical that we not drill into the parking garage floor (also mapped in the photo) which did happen to land in the middle of the figure. If we were to do that, we could puncture cables under so much pressure they would blow out a hole in the concrete wall. Also note the foot print of each tile marked in red. The stainless steel flat bar triangle has yet to be installed but it's location is also mapped.
One of the only shots I have of Ian installing his part of this project. He uses a technique call marouflage. The mural is painted in a studio and then adhered to the wall. It is apparently the most archival painted mural technique. The products used for his half of the installation were more temperature sensitive and so we opted to install that first. This is visible in the pictures above--notice the painted background around the figure is already on the wall. I helped him install his stuff and he helped me install my part. Pretty good deal.
Space Mural.
This is a snapshot of the mosaic I did with our engineer and his family. One day it will have a border and be a table. He worked dozens of hours pro bono for us because we couldn't afford to pay him. This was our way of saying thank you.
The stamped drawings from the structural engineer.
Noting test results.
Dr. Robert Steffen in his element: load testing experimental installation techniques at Western Carolina University. This was an amazing experience. I made test samples (see photo below) and we broke them, measuring very precisely how much shear force it took to break the samples. In almost every trial, the block broke around 6000 psi. A tile broke in one. The bond never broke. This gave our installation methods a safety factor of 120 (I was told a safety factor of 4 or 5 is generally accepted).
Here is a link to an article about the testing:
Dr. Steffen setting up a deflection test from the other side of the blast shield, or in other words, a test that measures how much the epoxy will flex before it breaks. The blast shield blocks any fragments from causing injury when the tests are broken.
Here the test samples are being made. The veneer blocks being used came from the contractor that built the parking garage wall. There was half of a left over palette of these custom order blocks. The surface was scored with an angle grinder. The green-glazed ceramic blocks came from the same mold used in the window sill of the mural. Several variations of attachment systems were testing, including the two we used (3 samples each to confirm results).
Fired tiles with terra sig. They were once-fired to cone 5. Firings took about 75 hrs including down-firing.
Tiles en route to the kiln.
The finished sculpture. This photo was taken late at night, the day before I left for Maine to assist a workshop at Haystack. Hectic doesn't do the situation justice. Ian dropped what he was doing for two weeks to help finish the sculpture, building in the side walls to each tile as the sculpture was cut apart.
Lots of other people helped around this time, too. A big thank you to:
Emily Reason
Travis Winters
Travis' friend (sorry dude I forgot your name)
Bob Francis
Rebecca
Sarah Roach
Angie Fornof
Jon Fornof
Joey Hindi
Earnie Mapp
Almost done cutting it up.
Every day the sculpture was sprayed down, draped with damp bed sheets, and covered with two layers of plastic. This procedure was time consuming and sometimes felt like a chore at 5 am.
Beginning to cut the sculpture into pieces.
Photo by Frank Bott
Photo by Frank Bott
Photo by Frank Bott
The same day the power was shut off, I called up Frank Bott, a photographer, friend, and local legend (world-famous motorcycle photographer now) and he came out and shot these pictures. You can see the extension cord running out to my truck. In every photo from now on we are off-grid.
The doors to all the buildings had these signs saying not to go inside. We were in a pickle. At this point the sculpture is one piece of clay that weighs about 1500 pounds. It was immobile. Moving it would destroy it. The fire marshal initially gave everyone 24 hours to evacuate their stuff. The city unofficially told us we could finish the project in the building. We continued to work in these conditions for 4 months. Fortunately I had an auxiliary battery bank in my truck, set up for off-grid construction. It charges off the alternator. We added some solar panels and didn't miss a beat.
Here's some links to news articles about it:
Now is when this story gets interesting. Due to some circumstances unrelated to the project, the city shut off the power to the warehouse we were working in and several other around it.
The model for the sculpture, Mary. My sweetheart.
One of the ways the sculpture was tweaked was to cut holes into it and pull the slab out. Paddling could accomplish pushing it in if necessary.
A detail shot of an early version of the face.
Some of the internal bracing is visible here.
With a little help form my friends: Bob Francis.
More internal bracing.
Most of these photos are taken at night because that was when the work was being done. This building easily reached 100 degrees inside during the day, especially working close to the ceiling on scaffolding. The heat was dangerous and extremely uncomfortable to work in. So we would typically work from 4 or 5 pm to 4 - 7 am. A hard schedule to sync up with loved ones, but necessary to get the job done.
Most of these photos are taken at night because that was when the work was being done. This building easily reached 100 degrees inside during the day, especially working close to the ceiling on scaffolding. The heat was dangerous and extremely uncomfortable to work in. So we would typically work from 4 or 5 pm to 4 - 7 am. A hard schedule to sync up with loved ones, but necessary to get the job done.
Lots of volunteers helped make this project possible. Here Rebecca helps build internal bracing.
Wooden blocks are used to help prevent the slab from sliding off the wall.
A projection was used early in the process to establish proportions for the slab that will be the back of the tiles. Once the sculpture become dimensional though the projection is skewed and no longer very helpful.
The slab that will become the back of the tiles.
This triangle is made of foam and will create the negative space on the backs of the tiles to accept the stainless steel reinforcement of the wall later.
Finished (press-molding) tile.
Adding the back of the tile.
One step further in the process: side-walls added, ready for the back of the tile to be added.
Sill tiles were press molded using slabs of clay.
One of the molds for the window sill.
The maquette was shipped to Ian who painted over the entire thing. We had never tried this before and ultimately decided not to paint the tile on the real mural.
Detail of grouted maquette.
The grouted maquette. This photo was taken in my backyard in Santa Fe before the maquette was shipped to Asheville and painted by Ian.
I made a mold of the maquette for fun. Only 2 casts survive. The mold was accidentally broken later.
The original maquette in wet clay.
This is the digital rendering we proposed for the mural. The maquette (above photos) was also part of our proposal. Notice the figure in the window of the digital rendering is a photo of the maquette.


14 comments:
Ultimately amazing
Ultimately amazing
Dude thats incredible
This is amazing Alex!! Your talent is immeasurable
Alex you are so Damn good! Your combination of precision skills, energy and talent leave me in awe. I love you Brother, take care,
Peter Lenzo
Alex you are so Damn good! Your combination of precision skills, energy and talent leave me in awe. I love you Brother, take care,
Peter Lenzo
Alex you are so Damn good! Your combination of precision skills, energy and talent leave me in awe. I love you Brother, take care,
Peter Lenzo
Hello there! I know this is kinda off topic but I was wondering if you knew where I could get a captcha plugin for my comment form? I'm using the same blog platform as yours and I'm having difficulty finding one? Thanks a lot! tile replacement
You are doing a good job, Alex. Keep it up!
We’ve been stumbling around the internet and found your blog along the way.
We love your work! What a great corner of the internet :)workshop floor tile
Fabulous..what a masterpiece of art.Your skill is amazing.It would have taken ample time to master this skill,I really salute your patience and effort for this art creation.Gifting articles and pottery of large varieties are available at
Amazing skill out form.You article has lot of historical information.Love to see and read more from your side.You can have look at http://www.potterymarket.co.uk/,for varieties of pottery,decorative and gifting items.
I am extremely pleased with Mr Pedro Loan service and your suggestions have helped me get a very good home loan deal. I would be pleased to recommend your services to my friends here looking for a loan.”
Don't go anywhere else if you are looking for a loan. Mr Pedro is the best. I highly recommend his services. The best I have ever had the pleasure to work with was his low rate loan. ”
This is Mr Pedro Contact just in case anyone here is looking for a loan.
Whatsapp: +18632310632. & Email: pedroloanss@gmail.com
Cool art
Post a Comment